Mounting your LEGO
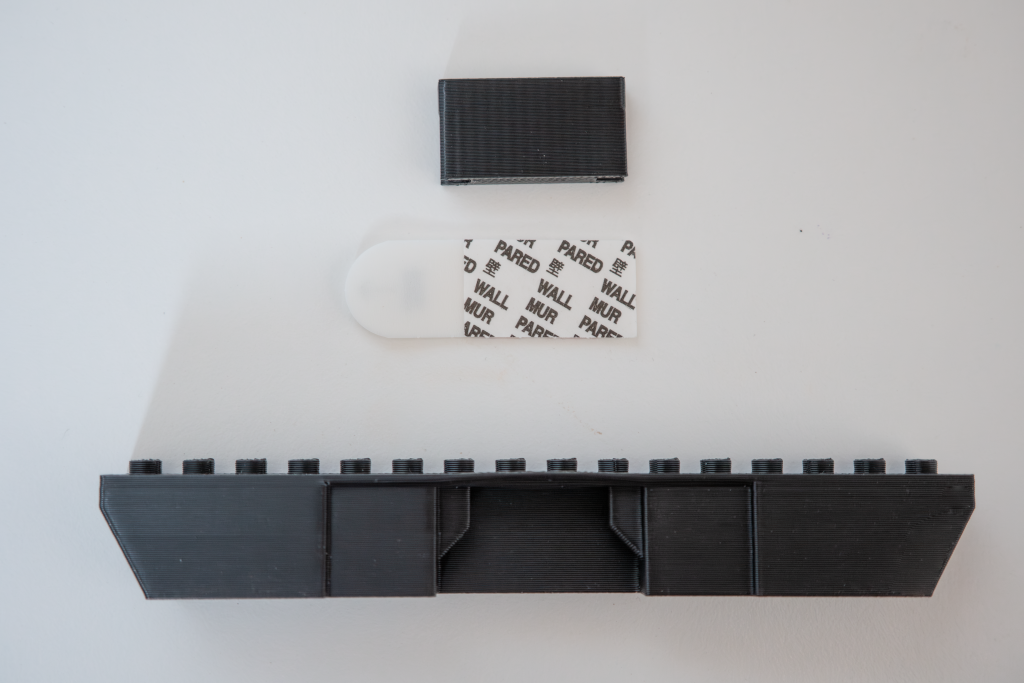
Each of our LEGO® mounts come with the hardware needed to mount them. Some have two mounting options, screws and/or 3M command strips. Here are some tips for mounting to the wall.
Screws include a wall plug. Use this if you are mounting to a GibBoard surface and not mounting to a stud, or mounting to a concrete wall. Use an appropriate sized drill to make a hole for the wall plug and then drive it in flush before screwing in. We recommend mounting to a stud for all heavy sets.
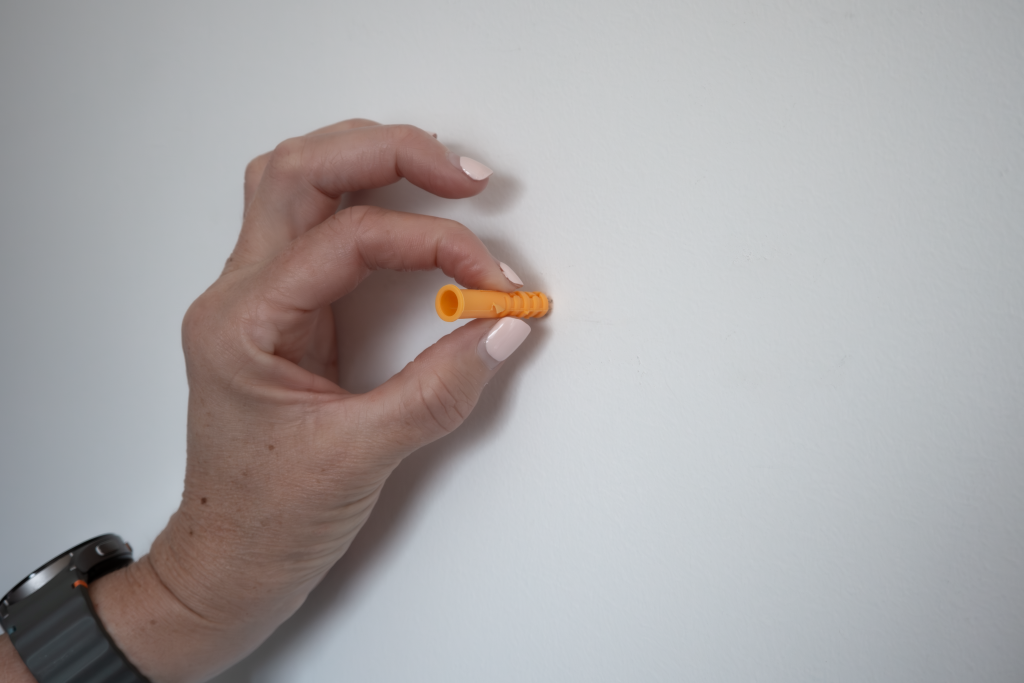
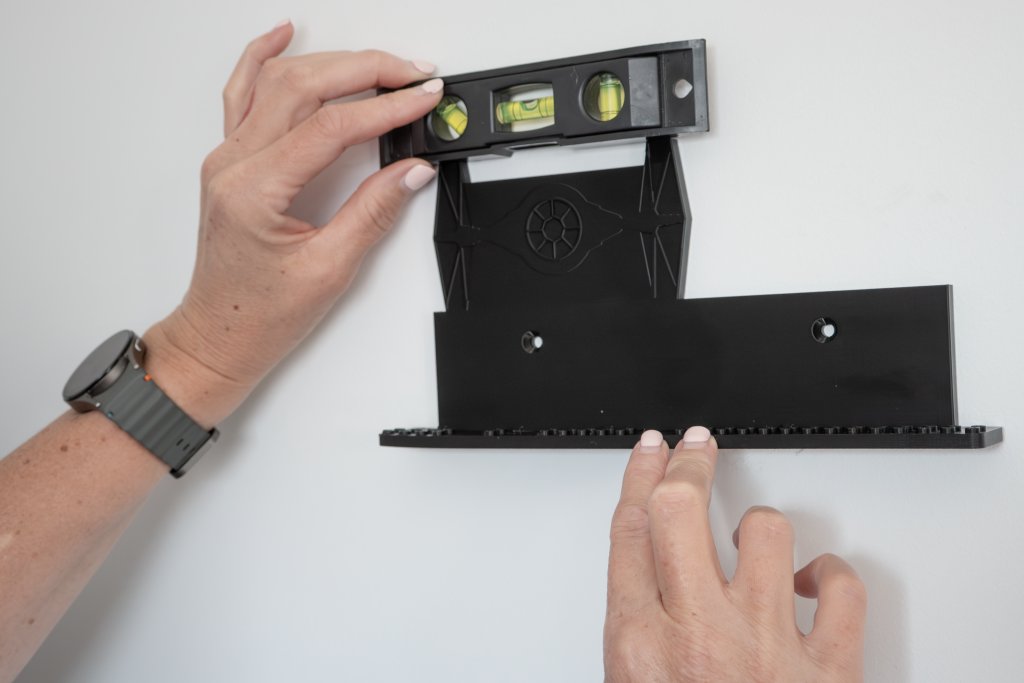
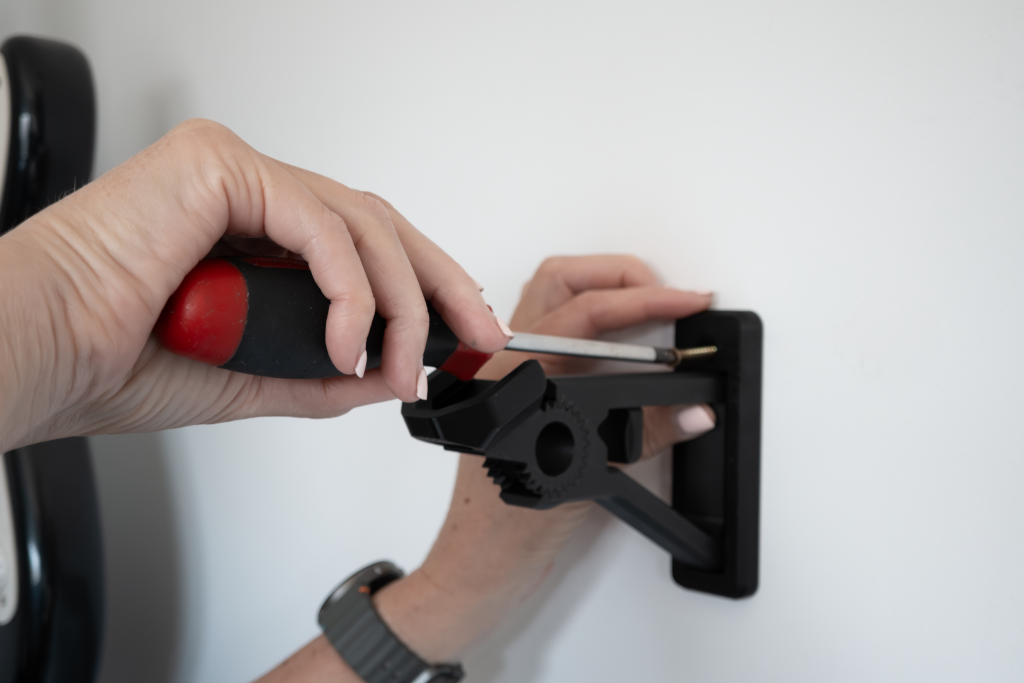
Mark the location of the hole you want to make. If your mount uses two screws to secure it, use a level to ensure the mount will be straight.
If mounting to a stud or to a plywood or hardwood wall, drill a hole in the surface no more than 3mm in diameter, and deep enough for 3/4s the length of the screw. Hand screw the mount to the wall. Do not use an electric screw driver or impact driver as you might over-tighten and damage the wall or the mount.
If your mount comes with 3M Command Strips, mount first to the cleat or the mount Press down for 30 seconds to ensure a good contact. 3M recommend wiping the wall first with Isopropyl (rubbing) alcohol. Ensure the surface is dry and free of dust, and use a level to ensure the mount is straight.
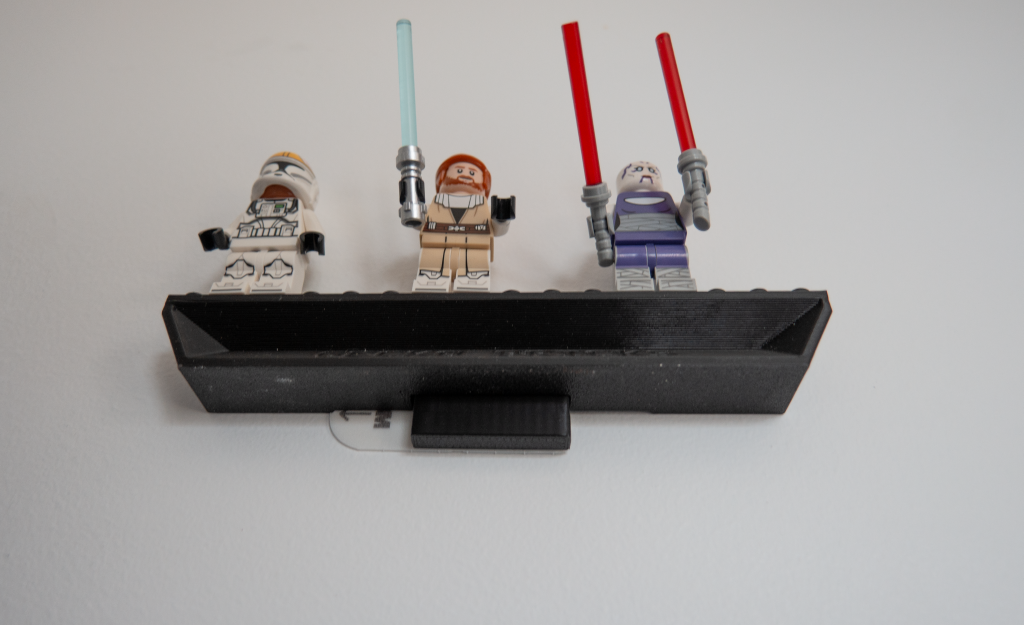
A minifig mount can be slid down onto the cleat once it is secure to the wall (press and hold 30 seconds). For heavier items such as Brickheadz, leave the cleat on the wall for at least 30 minuted before sliding the mount onto the cleat.